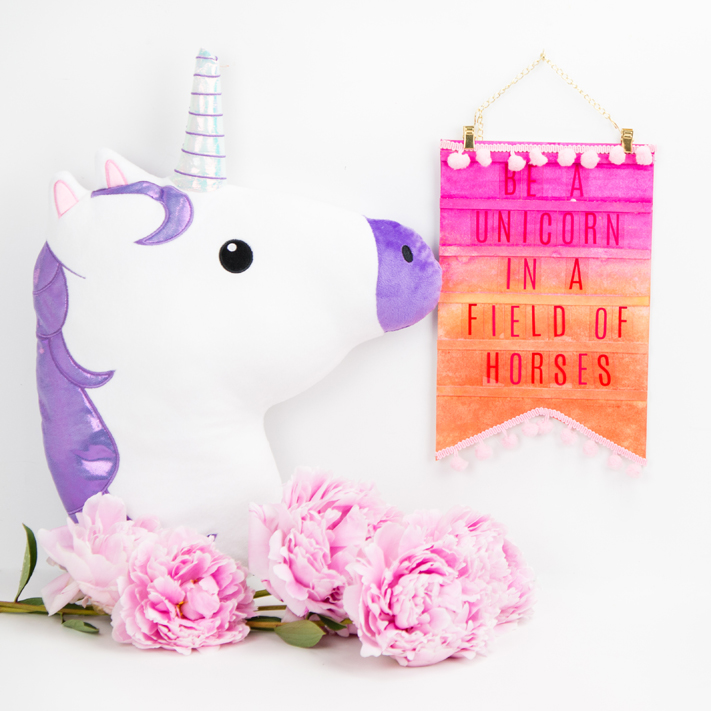
This fun DIY craft is an affordable way your kids (or yourself) can get in on the Lightbox and Letterboard trend! See how easy this Banner Kit can transform into something magical!
This is a personal blog. All editorial content and projects are intellectual property of Create Often with Jennifer Evans. I am an employee and do receive financial compensation and material product from American Crafts to develop my craft posts. This post contains affiliate links to help support this blog. I create what I love and love to share what I create. but all ideas and opinions are my own.
This Lightbox Banner Kit is available NOW at Michael's stores. It is a thick chipboard letter board and the clips and chain are included. It is an inexpensive option to have fun adding custom quotes to, without having to power it up! It comes white, but that doesn't mean you have to keep it that way!
You could paint it anyway you wish, but I wanted a cool ombre look and to get that, I used three of my favorite Color Shine colors.
Remember, when using Color Shine, the colors mix when you spray them together. Stick with similar colors and if you are having a hard time knowing what colors will mix into what, just remember your primary colors mixed together will make secondary (eg, red and yellow make orange.
The chipboard took several sprays to take the color, however, I just blotted and let it dry without messing with it too much. Then to dress up the banner more, I added some trim to the very top and bottom.
When adding trim, try not to place it in the areas where the letters slide in and out so that it doesn't damage the track system.
This kit fits all of Heidi Swapp's Mini Lightbox Letters. My daughter LOVES her new Unicorn Banner but I think she will love it even more when she realizes she can change the letters out to spell whatever her heart desires!
Let the kids get involved and have them brush their own paint on! Acrylic would be a perfect paint for this project, just make sure the paint is brushed out well on the tracks.


