Planners

Planners
Planners

Scrapbooking

Scrapbooking
Scrapbooking

Party

Party
Party
Showing posts with label canvas. Show all posts

Craft Warehouse - Canvas Corp


I love a blank canvas. There are endless posibilites. I had to create this one for Craft Warehouse and I had to use most of the product that is on this piece. I was playing more with Tim Holtz's Resist papers along with Mister Huey's mists. I am offically in love with them. ;)


I used white and Sunshine mists to spray the paper for this rosette and the Canvas Corp flower, which I cut in half to make more masculine. I also sprayed Dark Calico on their stars and cut them to look like a ribbon under the rosette.


We were also asked to use these foam stamps and I stamped mine and cut it out. I then colored it more with the black Distress Marker.


Distress Stain is super fun on resist Kraft paper. Although, it curls when dry, I liked the way it turned out. It makes the resist very bright!


Dark Calico turns the Kraft paper a lovely color. I will totally be using these mists more on Kraft paper. The dark colors seem to really make the resist stand out!

This canvas was really an experiment to see how the mists worked. Maybe that's why it sat on my scrap table for two weeks!

Create Well: Try some Mister Huey's Mists by Studio Calico on your next Kraft paper project!

Helmar - 3 Ways for Children to Explore Art

Imagine a place where children can be free to create they way they were meant to; without restrictions or rules.

Canvas done by my five year old

As a private preschool teacher for ten years and a Children's Ministry Director for six, my hands-on classroom was always a creative safe haven for children. My non traditional approach to teaching was usually looked at with mouths open and eye brows raised.

See, I was the teacher that would be dressed in flippers, a shower cap, and a snorkel mask to greet the children as they filed into the classroom for our introduction to our ocean unit. It's not something you see every day. The real question is "Why not?"

Why not let children learn and express themselves freely in a safe, creative, fun filled environment?

As a stay at home mom, out of the classroom for two years, I use the same principles now as I did in the classroom. I would love to share a few ways to explore art with your child, perfect for teachers, homeschoolers, and parents.


1. Let the child experience art on their own. 

It is common for an adult to see a child do an art project and want to "help" them out. If they are gluing something and it is a little crooked, leave it. It isn't art if every one's picture looks the same at the end of class! Let the child experience and explore creating. Let the child also hold the paint brush, glue their own pieces, and paste them on their own page. Not only do they learn from doing it themselves, but they also take ownership of their work, and experience more during the process.


2. Start giving your child art tools at a young age while being well supervised.

When your child can hold something in their "fist." It is a good time to start encouraging development of the muscles in their fingers. (This is called small motor skills). These muscles help hold a pencil. Great ways to encourage this is by giving the child glue (such as child safe Helmar's Acid Free Glue), scissors, and paint brushes to help develop these small motor skills.

Instead of giving a child a bottle of glue, use either a little paper plate or a recycled yogurt lid and squeeze a small amount on to it. Give the child Q-tips to dip and put on their project. This helps develop those small motors. Plus, some children are kinetic learners and have to squeeze the whole bottle out just to see what happens!


3. Use non traditional items to experience art and the world in new ways.

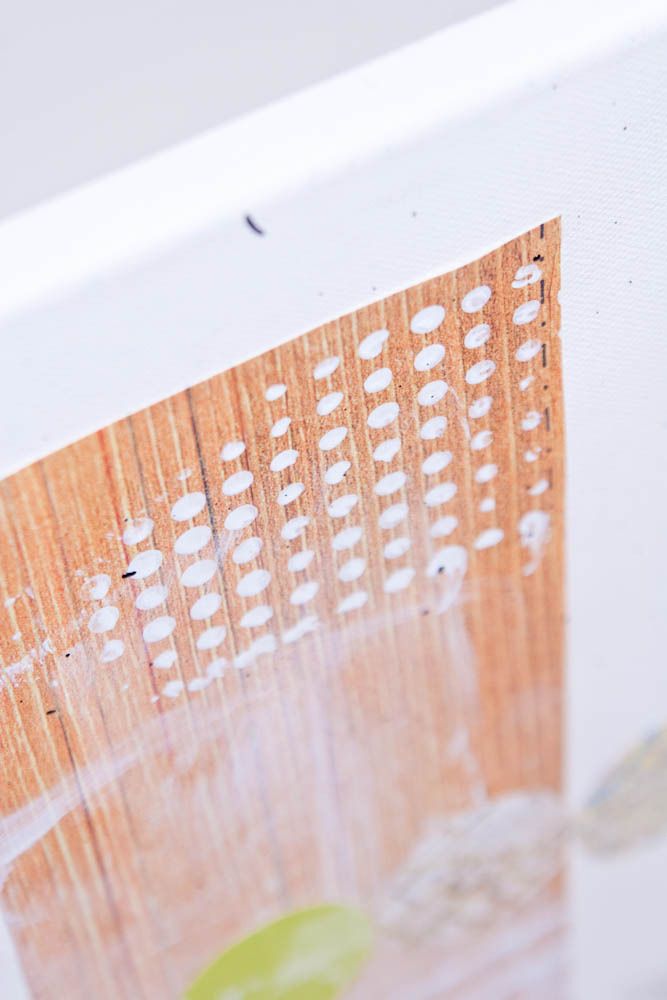
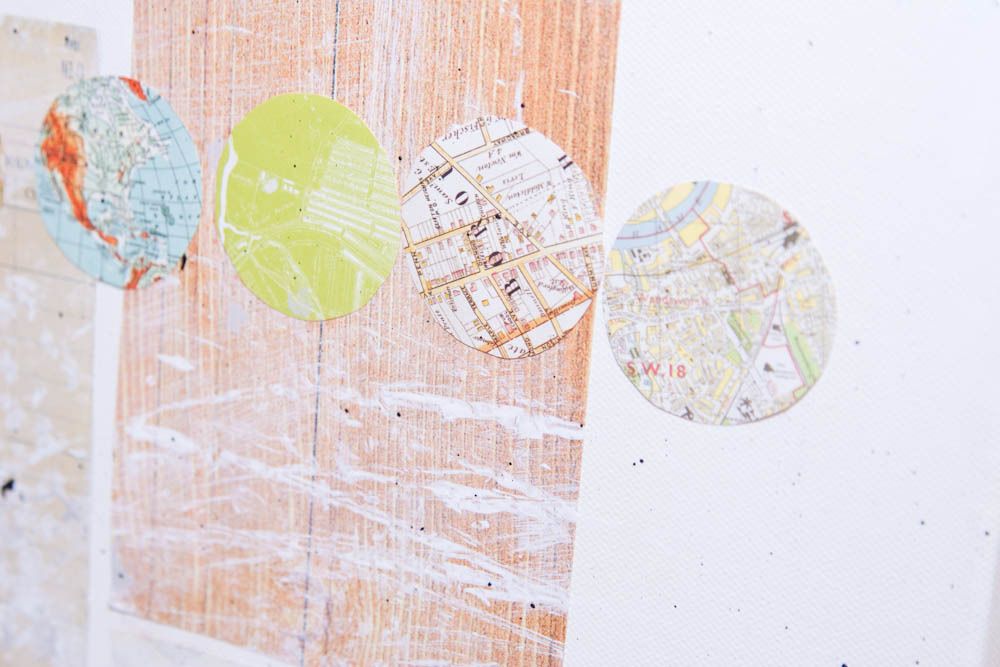
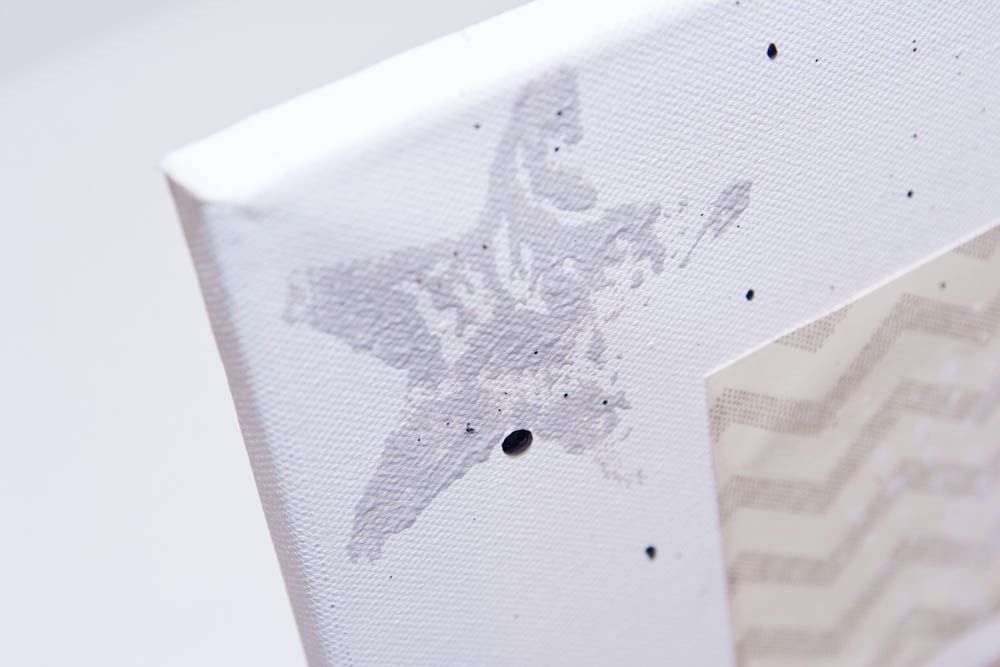
It was rare that you saw a paint brush at my art center. As my son was creating this piece, he was more excited at using the bubble wrap, dot stamp, massager, and star stamp. He verbalized, "Oh!" and "Wow!" with these items and with the brush, he kept on just asking if he was doing it right. Maybe with these non traditional items, children know there is more freedom to explore.

Try a feather, bubble wrap, sponges, rocks, or recycled items. I love even creating hard clay items one day and stamping them into paint another day. Tubing from the hardware store, marbles, or even toy cars are fun! When using larger items, encourage those small motor skills again by using clothes pins to help them "grab". For example, I clipped the bubble wrap with the clothes pin to create a stamp, while at the same time it was helping develop my son's small motors.

Some items in my paint supplies are from a recycle center called Creation Station in Lynnwood, Washington. This shop is filled with items that they save from the landfill and sell to artists, teachers, scientists, scrapbookers, homeschool groups, etc. Find a local recycle center and think outside the box of how you can use items as art for your child.

I am excited to share with you this week's video, of my five year old son creating this mixed media piece. He loves it so much that we have it already hanging in his room, inside a backless frame so that we can change out new pieces as he finishes them.

(Enlarge and play in high definition!)


Project time: 10 minutes. Drying time: 20 minutes.

A few notes: My son wears an under-shirt for his "paint" shirt since he will not wear smocks because they are not "soft." He also insisted on wearing his father's shoes to paint in. So, there you go.

I also had an extension cord with a heat gun to help dry the layers, but found out this was not needed. After my son was finished and I cleaned off the black paint from the side of my house, I made sure all the edges of the paper were down by adding a little more Helmar's Acid Free Glue to any curling paper from the paint.

Create Well: Develop a place where children can be free to create they way they were meant to; without restrictions or rules.

Helmar - Faith Canvas


I was almost in tears of excitement using Faber Castell's products this week on a mini canvas board. I love creating these because afterwards it easily fits into a frame by removing the glass. Then can get hung on right on the wall. Easy art!
Faith-1
This photo was taken by my sister of her mother-in-law. It had the perfect contrast for the bright colors that only Faber Castell can create in a mixed media project.

The layering process was so easy. The first layer was applied with Helmar's Decoupage and Craft Paste and paper (paper designed by Debee Ruiz from Me and My Big Ideas).
(Note: I only applied Helmar's Decoupage and Craft Paste to the board. I did not use a layer on top of the paper.)

It was super cold outside and too dark that I cut the paint splatter out of paper and glued it on instead of using the usual paint can this time. Ha!

I sped up the drying process with my heat gun...

I added a little white wash with white acrylic paint, water, and a paint brush so the colors of the Gelato would stand out more.

Faith-2
I then started applying the brillant products from Faber Castell.

I laid a circle stencil down over the paper and used the orange Gelato from the Mix and Match Mixed Media Sampler, then colored in random circles.I used a small paint brush and with a little water on it, I wet the circles. I made sure to use the heat gun to set it before the next step.

Faith-4

I repeated the same thing but used the PITT Artist Pen Big Brush in Dark Naples (deep yellow). I did a couple circles in the Turquoise Metallic Gelato for a little contrast. I again added a little water with a paint brush to blend in the color. I then used the heat gun before starting the next step.
Adding a little shading between the circles I drew with the Pink Gelato right onto the canvas. Using a clean wet small paint brush I blended it into the paper slightly. I then used the heat gun to dry it before the next step.

I loved it so much but wanted to tone down the yellow by shading it in with the matching Pastel Pencil. Then, I did a little outline on the outside of some circles with the PITT Artist Pens in Orange Glaze 113 and Deep Scarlet Red 219 (which are fine point drawing pens).

Faith-3

I then started adding my photo, border, and scraps for the journaling. I then stamped the script sentiment with black Stazon ink.

Faith-5

I used the Black 199 PITT Artist Pen Big Brush and actually wrote the title "Faith" right over the photo. I was shocked at how dark and vibrant the black was. It had no problem gliding across the photograph.

I have tried this technique with paint and really disliked the look of my handwriting using a paint brush. Using this Big Brush gave the affect that I wrote it with paint but it is so much easier to control. I was so pleased with it that I will be doing this more often on my mixed media projects and scrapbooking layouts! Plus, it is Indian ink which is why it is such a vibrant color - perfect for mixed media.

Knowing how beautiful the black dried, I went ahead and colored back in some of the paper's spray paint that was white washed. It really looks like I sprayed several layers of paint, when all I did was color dots in. ;)

Afterwards, spray the canvas with Helmar's NEW Crystal Kote Matte Fixative, to protect the project and make sure the beautiful colors STAY beautiful!

Faith-6

Create Well: Try to layer different products in a new way on your next project.

Guest Designer: Hilary Kanwischer

This week's guest designer is Hilary Kanwischer. When she's not working as a firefighter, a paramedic, and being mom to two children, she's creating beautiful works of art in her craft room. When I go to her blog, Hilary Scraps, I feel like walking running to my studio to create! She is also on the Cup Cards to Go design team where she helps inspire cardmakers with her designs. Read on to learn more about what makes Hilary stand out from the crowd!


My style almost always includes at least two techniques, inking & sewing. I love to distress just about everything and if my project will run through my sewing machine it will be stitched as well. For some reason, I feel like my projects aren’t completed unless I include those two techniques. As far as a style, I love the layered, textured, shabby look and also love to include non-scrapbook related items in my designs, ex…a wooden fence or even fabric.


I’m so easily inspired it’s scary. I love holidays and I’m always looking to create around them. I can also be inspired by just rummaging through my craft room and finding things I haven’t used in a while. I’m big into fabrics right now and the other night around midnight or so, I decided to piece together a small quilt. It’s funny, one week I’ll only make cards, then I’ll switch to fabrics, then I may go a week making Christmas ornaments, I can never tell what’ll be next.


I adore 4 artists, and I say that term with the highest degree of admiration. I love Melissa Phillips and her true shabby style that undoubtedly is in a class by herself. Hardly a day goes by when I don’t stop by her blog and drool over her beautiful creations. I love Linda Albrecht, for the simple fact that I don’t think there is another artist out there that is the whole, complete package. Her altered art, scrapbook layouts, photography, and inspiration are just some of the things about her I’m drawn to. I also adore Beatriz Jennings and her ultimate shabby style. Her designs and projects are so sweet and unique, you’ll never find the same style twice on her blog, plus she offers the sweetest monthly kits. And finally, I adore the clean, shabby beautiful look of Danielle Flanders. I fall in love with her cards, layouts and her altered projects every time I stop by her blog.


Well right now my favorite color combinations to design with are holiday colors; oranges, browns, blacks and tans. I adore this time of year, and actually orange really is becoming my new favorite color. There are so many different shades and patterns of orange; it’s a color that easily inspires me.


If I’m creating a layout, I try to set everything out on my table that I want to use, and then I just start moving everything around until I find a look that’s right. If I’m creating an altered project straight from scratch, I draw my templates by hand first, and change them up as I need to. For cards, again I just play around with the papers and embellishments till I get a look that feels right.


I love the creative process. I love trying new techniques and incorporating different elements in my projects. I love to scrapbook, though recently I have turned more towards altering, cards, and handmade things. I love when my kids come into my craft room and play around in there with me. My daughter has made pillows, ornaments, cards and layouts with me and she has an incredible artsy style I’ve never seen in a 12 year old before and I’m hoping that came from her spending so much time in my room. I love that my kids want to be in there with me, and I love the looks on their faces when they see layouts adorned with their photos. It’s what makes this whole craft so special to me, and I’ll never want to give it up.


There is so much inspiration out there. Find your comfort level and just have fun. Don’t be afraid to try something new…what’s the worst that can happen right? Don’t stress, grab a favorite snack, put on a favorite video or movie and make a night out of it. For me, although I work 2 jobs, still I love to stay up all night and watch the sun come up. (I’ll sleep when the kids go off to school).


Ok... I am so inspired right now, aren't you?! Don't you want to get started on those fall and Christmas holiday projects already?! If so make sure to leave Hilary a comment here to tell her so! Make sure to go to Hilary's blog for even more projects to kick off the fall season.
 
Create Well: Don’t be afraid to try something new…what’s the worst that can happen right?

One Bright Spot: Fall Update!

Our shop, One Bright Spot, is having a Fall Update. We have some great new product, including some beautiful kits. The kits use some of the items that we have been using on our layouts as of late.
I love autumn, don't you? It makes me think of fall colors, harvest, and the beginning of the holiday season! I have begun to create embellishments with fabric and I put a few of my new creations in the shop.
These embellishment all have a bit of vintage dictionary script.


These new card kits have a bundle of goodies good for more than cards! I would be able to get several cards and a layout out of this set!

Below is a layout Becca did for Think Outside the Box with the butterfly and vintage hymnal music sheets from the kit photographed above. Isn't it great?!
Make sure to check out the update at our store. Keep tuned in for another update soon with more holiday items including rings, charms, magnets, and more beautiful handmade card kits.
Create Well: Take advantage of other artist's talents and buy Etsy. Buy handmade this season!

Baby Doll

Sometimes I make myself laugh... yesterday, my package from Craft Warehouse came for our third assignment. When I saw the 12x12 canvas I wanted to jump up and down and scream with excitement. But, I didn't since it took Ethan a while to fall asleep for his nap. So, I danced around my husband instead. I knew I had a bit of a break during nap time and went upstairs and finished my canvas assignment.

This project was created with Pink Paislee's Captivating line. I figured that I could use this photo once more since Craft Warehouse would be getting the canvas... ;)

I created a "skirt" from the "Beautiful" paper. I added distress ink to create depth on the pleats.

I sewed the skirt and paper and then attached the paper to the canvas with gel medium.

I used a paper piercer to create the holes to add the thread. I have had this DMC thread since I was a child. Probably because it is such a unique color. I laughed when I pulled it out and it matched perfectly.
Supplies- Paper & Chipboard Elements: Pink Paislee's Captivating line; Cardstock: Bazzill Basics; Alphas: American Crafts; Ink & Distressing Tool: Ranger Inc. Tim Holtz; Other: notebook paper, thread, spray paint, & acrylic paint


Create Well: Create a skirt with paper by folding an accordion, opening it up, and stitching the top down. Add a paper to the top or ribbon as you would fabric.

Sunshine of My Life

Ok... Donna Downey inspires me. She truly does! Here is a piece done from one of her tutorials. {Sigh! I could do it again and again!}


Create Well: Go to used book stores or garage sales to find old dictionaries to add to your layouts. Reduce, Reuse, Recycle.